


A poor ground connection on a trailer connector can lead to a variety of electrical issues, such as dim or non - functioning trailer lights, erratic electrical behavior, and even potential safety hazards. As a trailer connectors supplier, I've encountered many customers facing these problems. In this blog, I'll share some essential steps on how to troubleshoot a poor ground connection on a trailer connector.
Step 1: Visual Inspection
The first step in troubleshooting a poor ground connection is a thorough visual inspection. Start by examining the trailer connector itself. Look for any signs of physical damage, such as bent pins, corrosion, or loose wires. Corrosion is a common culprit, especially in areas with high humidity or where the trailer is frequently exposed to saltwater.
Check the ground wire on both the trailer and the towing vehicle. The ground wire is typically a bare copper wire or a wire with a green insulation. Make sure it is securely attached at both ends. On the trailer, the ground wire is usually connected to the frame. Look for any signs of rust or dirt at the connection point. If there is rust, it can impede the flow of electricity and cause a poor ground.
Inspect the trailer connector plug and socket. The pins should be clean and straight. If you notice any bent pins, you can try to straighten them carefully with a pair of pliers. However, if the pins are severely damaged, it may be necessary to replace the connector.
Step 2: Clean the Connection Points
Once you've identified any signs of corrosion or dirt on the connection points, it's time to clean them. You can use a wire brush or sandpaper to remove rust and debris from the ground wire and the connection points on the trailer frame and the towing vehicle. Make sure to clean both the male and female parts of the connector.
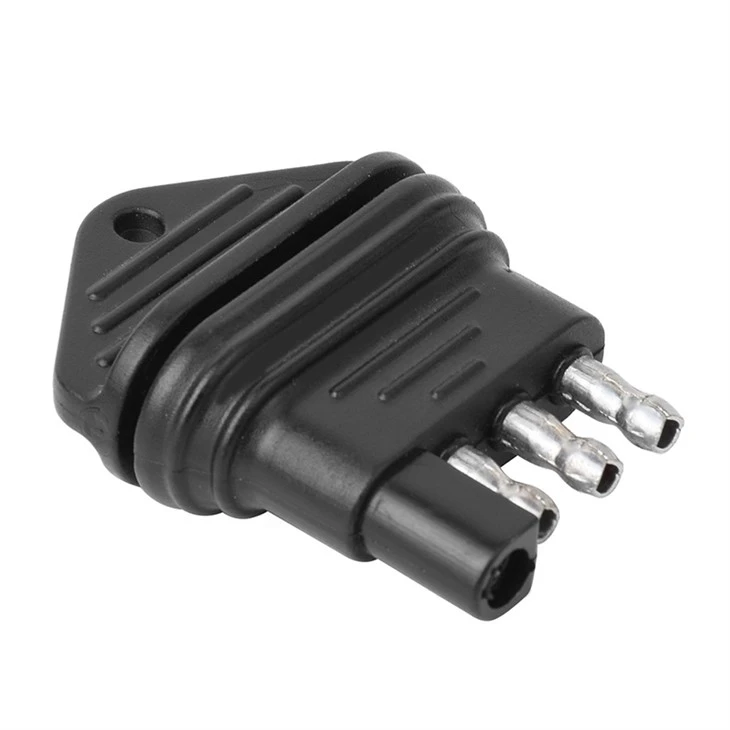
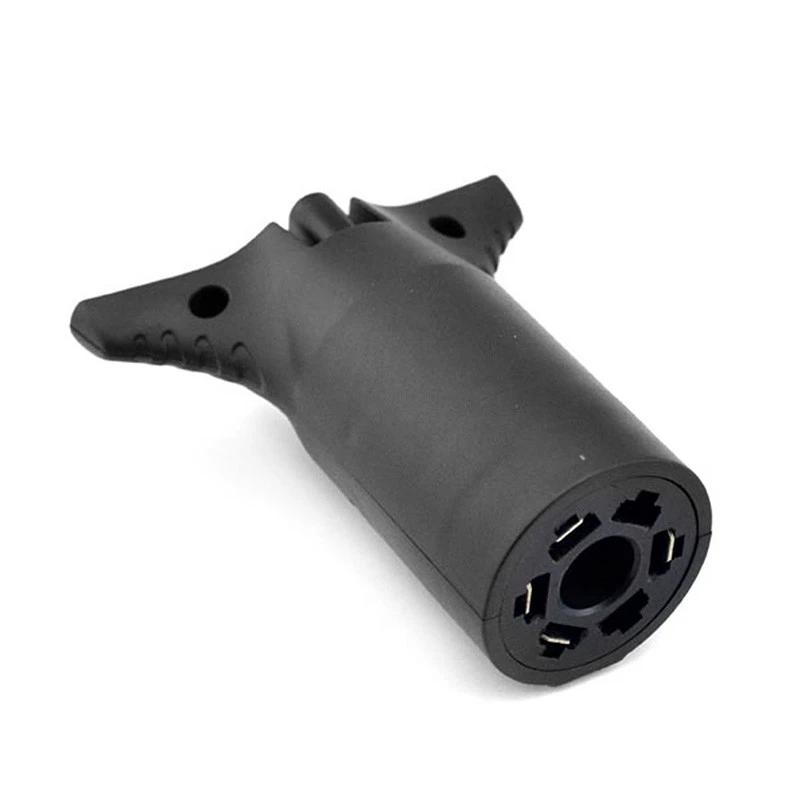
After cleaning, apply a thin layer of dielectric grease to the connection points. Dielectric grease helps prevent future corrosion and improves the electrical conductivity of the connection. It acts as a barrier between the metal and the environment, protecting it from moisture and oxidation.
Step 3: Check the Ground Wire Continuity
To ensure that the ground wire is functioning properly, you need to check its continuity. You can use a multimeter for this purpose. Set the multimeter to the resistance (ohms) setting.
First, disconnect the trailer from the towing vehicle. Connect one probe of the multimeter to the ground wire on the trailer and the other probe to a clean, unpainted part of the trailer frame. A reading of close to zero ohms indicates good continuity. If the reading is very high or infinite, it means there is a break in the ground wire, and you'll need to locate and repair the damaged section.
Next, check the continuity of the ground wire on the towing vehicle. Connect one probe to the ground wire at the connector and the other probe to a clean, unpainted part of the vehicle's frame. Again, a low resistance reading indicates a good ground connection.
Step 4: Use a Trailer Light Tester
A Car Trailer Light Tester is a valuable tool for troubleshooting trailer electrical issues. It can help you determine if the ground connection is the problem.
Connect the trailer light tester to the trailer connector on the towing vehicle. Turn on the vehicle's lights and check the tester. If the lights on the tester are dim or not working properly, it could indicate a poor ground connection.
You can also use the tester to check each individual circuit on the trailer. This will help you identify if there are any specific issues with a particular light or function.
Step 5: Check for Loose or Damaged Wires
Inspect all the wires connected to the trailer connector for any signs of damage or looseness. Wires that are frayed, cut, or loose can cause a poor ground connection. If you find any damaged wires, you'll need to repair or replace them.
Make sure all the wire connections are tight. You can use wire nuts or crimp connectors to secure the wires. If you're not familiar with electrical work, it's a good idea to consult a professional.
Step 6: Consider Using an Adapter
If you're using an adapter to connect your trailer to the towing vehicle, it's important to make sure it is in good condition. A faulty adapter can cause a poor ground connection. For example, a 7 - Way RV Blade To 4 - Wire Flat Adapter can sometimes introduce electrical issues if it is not properly installed or if it is damaged.
Inspect the adapter for any signs of damage, such as bent pins or corrosion. If you suspect the adapter is the problem, try using a different one to see if the issue is resolved.
Step 7: Check the Trailer's Electrical System
In some cases, the problem may not be with the ground connection at the trailer connector, but with the trailer's electrical system itself. Check the trailer's fuse box for any blown fuses. Replace any blown fuses with the correct amperage.
Inspect the trailer lights and wiring for any signs of damage. If a light is not working properly, it could be due to a problem with the bulb, the socket, or the wiring.
Step 8: Professional Help
If you've gone through all the troubleshooting steps and still can't find the source of the problem, it may be time to seek professional help. A qualified auto electrician or trailer repair technician can use specialized equipment to diagnose and fix the issue.
As a trailer connectors supplier, we offer a wide range of high - quality trailer connectors, including 6 - way Heavy Duty Round Connector Trailer End. Our products are designed to provide reliable electrical connections and minimize the risk of poor ground connections.
If you're experiencing issues with your trailer connectors or need advice on troubleshooting, we're here to help. We can provide you with the right products and guidance to ensure your trailer's electrical system is working properly. Contact us to discuss your requirements and start a procurement negotiation. We look forward to serving you and helping you find the best solutions for your trailer electrical needs.
References
- Automotive Electrical Systems Handbook
- Trailer Electrical Troubleshooting Guide